v
How to Use Laser Level for Deck

How to Use Laser Level for Deck?

A deck is a great way to add extra living space and value to your home, but it’s important to make sure it’s level before you start building. A laser level is a perfect tool for getting your deck perfectly leveled, and it’s easy to use. In this post, we’ll show you how to use a laser level for decking projects. Stay tuned for more tips on how to build the perfect deck!

>>>> Best Laser Level for Cabinets

How to Use Laser Level for Deck?

If you’re planning on building a deck, one of the most important tools you’ll need is a laser level. A laser level will help you make sure your deck is level, which is essential for both looks and safety. Here’s how to use a laser level for your deck project. But before knowing how to use a laser level for a deck there is something that you should know about choosing the right laser level.

There are a few different types of laser levels on the market, and each has its advantages and disadvantages. The most important thing to consider when choosing a laser level is what type of project you’ll be using it for. If you’re only going to be working on a small deck, then a hand-held laser level will probably suffice. But if you’re planning on building a large deck, or one that has a lot of steps or other features, then you’ll need a more powerful laser level, such as a rotary laser level.

Now that you know what are some important things you should look at while using laser level for the deck, we move on to our step-by-step guide.

Step-by-step guide

Here is a step-by-step guide on how to use a laser level for the deck:

Setup your laser level

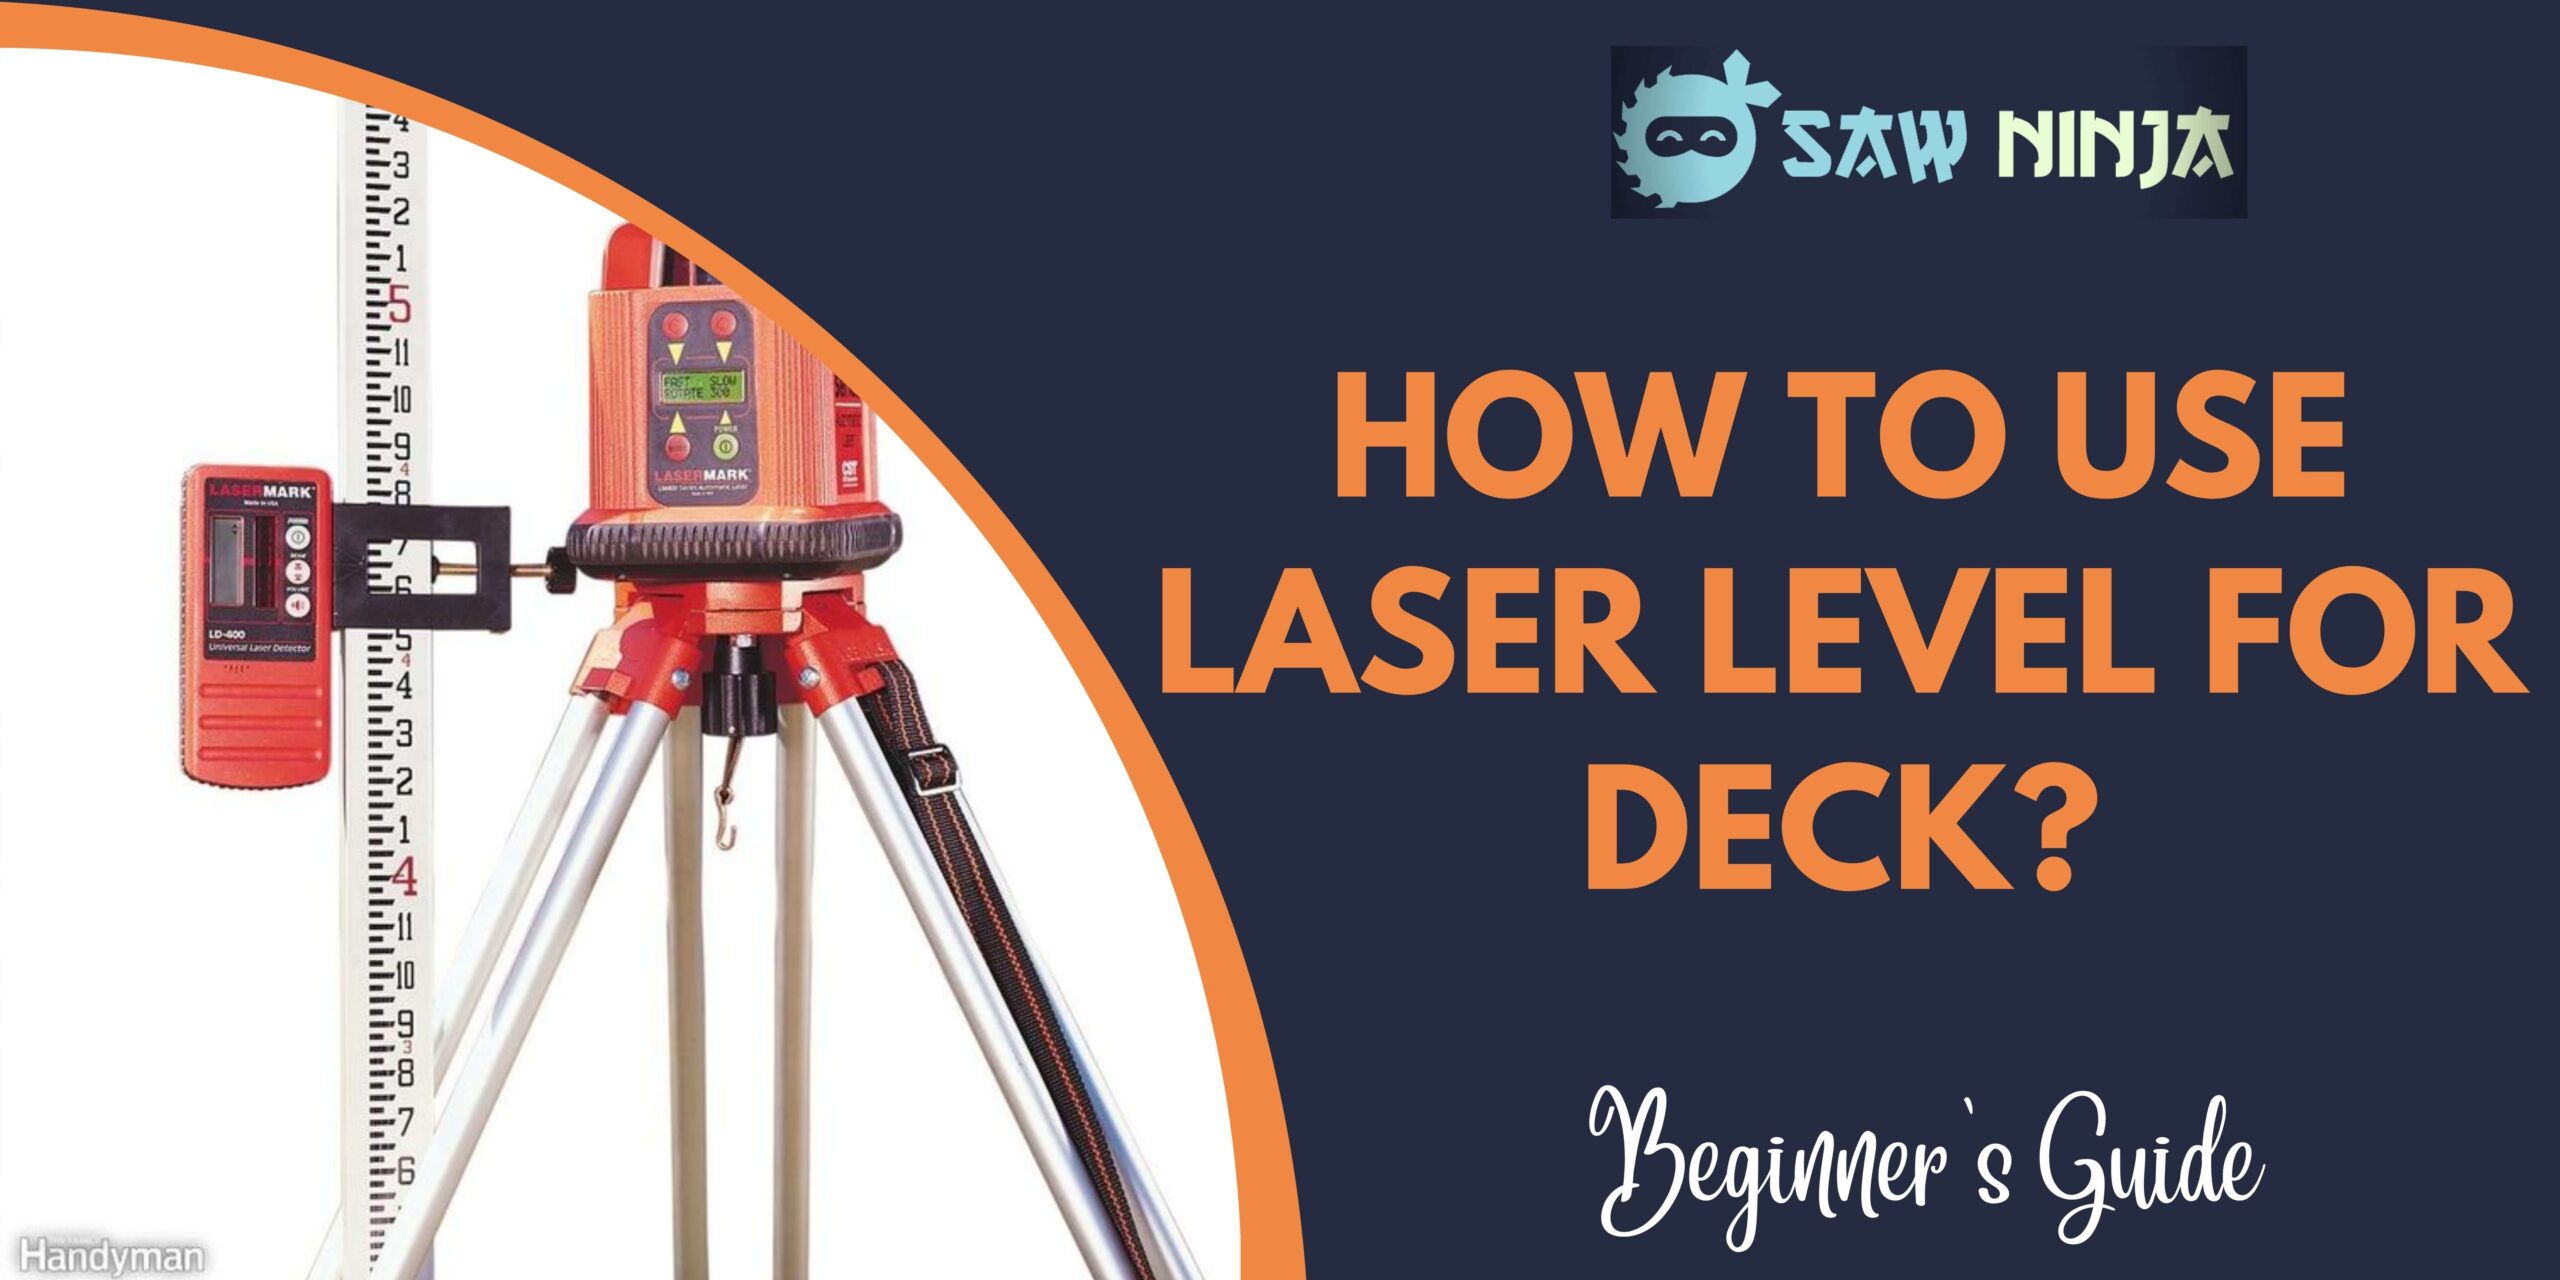
The first step is to set up your laser level. If you’re using a hand-held laser level, then you’ll just need to find a level spot to place it on. But if you’re using a rotary laser level, then you’ll need to set it up on a tripod.

Level the laser level

Once your laser level is set up, you’ll need to make sure it’s level. This can be done by using a bubble level. Most laser levels have a built-in bubble level, but if yours doesn’t then you can just use a regular one.

Turn on the laser level

Now it’s time to turn on your laser level. If you’re using a hand-held laser level, then you’ll just need to press the power button. But if you’re using a rotary laser level, then you’ll need to first turn on the power and then press the button to start the laser spinning.

Find the laser beam

Once the laser is on, you should be able to see the red dot or beam of light. If you’re having trouble finding it, then you can try moving the laser level around until you see the beam.

Use the laser beam to mark your deck

Now that you can see the laser beam, you can use it to mark where you want your deck boards to go. It’s important to make sure that the marks are level so that your deck will be too.

Cut the deck boards to size

Once you have all of your marks made, you can then start cutting the deck boards to size. Make sure to use a saw that’s appropriate for the type of wood you’re using.

Install the deck boards

Now it’s time to install the deck boards. Start at one end and work your way to the other, making sure to nail or screw each board into place.

Finish up

Once all of the deck boards are installed, you can then add any finishing touches, such as trim or railing. And that’s it! You now know how to use a laser level for your deck project.

Deck projects can be big or small, simple or complex. But no matter what kind of deck you’re building, a laser level is an essential tool that you’ll need. By following the steps above, you can be sure that your deck will be level and look great.

Furthermore, you must know about some precautions before using laser level for the deck. So here are some tips for you.

>>>> What Are Laser Levels Used for?

Precautions

There are a few things you should keep in mind while using a laser level for your deck project:

  1. Always use caution when working with lasers. The beams can be harmful to your eyes, so it’s important to never look directly at the beam.
  2. Be aware of your surroundings. If there are people or animals nearby, make sure they’re not in the path of the laser beam.
  3. Be careful when moving the laser level around. The beam can be reflected off of surfaces and cause damage, so be sure to keep it pointed in a safe direction.
  4. Always turn off the laser level when you’re not using it. This will help to prolong the life of the batteries and prevent accidental damage.
  5. Check the level regularly to make sure it’s still accurate. over time, the laser level can become calibration and give false readings. So it’s important to recheck it often.

By following these simple tips, you can be sure that you’ll be able to use your laser level safely and effectively for all of your deck projects.

 FAQs

How do you use a laser level for floor leveling?

There are a few different ways that you can use a laser level for floor leveling. One way is to place the level on the floor and use the laser beam to create a level line that you can then use as a guide when installing your flooring.

Another way to use a laser level for floor leveling is to mount the laser level on a tripod and extend the beam out over the area you are working on. This will allow you to create a level line that you can use as a guide when installing your flooring.

How do you use a laser level for post height?

When using a laser level for post height, you will want to first identify the highest point on your deck. You can then use the laser level to create a line at this height. This line can then be used as a guide when installing your posts.

What type of laser is best for building decks?

For building decks, you will want to use a level that has a green laser beam. This type of laser is easier to see in daylight and will provide a more accurate level line.

Conclusion

Deck building can be a daunting task, but with the help of a laser level, it doesn’t have to be. By following our step-by-step guide and FAQs section below, you too can have a deck that is perfectly level in no time! Have any other questions about using a laser level for your deck? Let us know in the comments section. We are happy to help!

>>>> Green Vs Red Laser Level

How to Mix Chainsaw Gas

How to Mix Chainsaw Gas?

If you’re like me, you probably use your chainsaw quite a bit during the summer months. And, if you’re like me, you also don’t want to run out of gas in the middle of a job.

So, it’s important to know how to mix chainsaw gas properly. In this blog post, I’ll show you how to do just that. Stay safe and productive this summer!

>>>>> How To Start A Makita Chainsaw?

Let’s get started!

How to Mix Chainsaw Gas?

Just like with any other type of gas, you need to

be careful when mixin

g chainsaw gas. Here are a few things to keep in mind:

– Always use a clean, empty gas can. Any dirt or debris in the can could clog up your chainsaw’s carburetor.

– Be sure to use the correct ratio of gas to oil. For most chainsaws, this is 50:1 Which means for every 1 gallon of gas, you’ll add 2.6 ounces of oil.

– Add the oil to the gas can first, then add the gas. This will help ensure that the oil is properly mixed in with the gas.

– Use fresh, high-quality gasoline. This will help your chainsaw run more smoothly and increase its longevity.

– Never store your mixed gas for more than 30 days. After that, it will start to break down and can damage your chainsaw.

Now that you know how to mix chainsaw gas, you’re ready to get out there and get the job done! Be sure to follow all safety precautions when using your chainsaw, and always have a full tank of gas on hand. Stay safe and productive this summer!

Step-by-step guide:

Pouring oil into a gas can

The first step is to pour the oil into the gas can. Be sure to use the correct ratio of oil to gas. For most chainsaws, this is 50:1. which means for every 1 gallon of gas, you’ll add 2.6 ounces of oil.

Adding gas to the mixture

Once the oil is in the can, you can add the gas. Be sure to use fresh, high-quality gasoline. This will help your chainsaw run more smoothly and increase its longevity.

Storing your mixed gas

Once you’ve mixed the gas and oil, it’s important to store them properly. Never store your mixed gas for more than 30 days. After that, it will start to break down and can damage your chainsaw.

Now that you know how to mix chainsaw gas, you’re ready to get out there and get the job done!

Precautions

Here are some safety precautions to keep in mind when using your chainsaw:

-Wear appropriate clothing. Long pants, thick gloves, and closed-toed shoes will help protect you from the moving parts of the chainsaw.

-Be aware of your surroundings. Make sure there are no people or animals nearby that could be injured by the chainsaw.

-Follow the manufacturer’s instructions. Every chainsaw is different, so be sure to read the manual before using it.

Be sure to follow all safety precautions when using your chainsaw, and always have a full tank of gas on hand. Stay safe and productive this summer!

>>> How To Clean Chainsaw Air Filter?

Premixed fuel and its benefits

The benefit of premixed fuel is that it takes the guesswork out of mixing gas and oil. You can simply pour it into your chainsaw’s gas tank and go.

However, premixed fuel can be more expensive than mixing your gas and oil. And, it doesn’t always have the same high-quality gasoline that you would use if you mixed it yourself.

So, it’s up to you whether you want to use premixed fuel or mix your own. If you do choose to mix your own, be sure to follow the steps in this blog post so you can do it safely and correctly.

FAQs

Can I Ever Skip Mixing Chainsaw Gas?

If you’re using premixed fuel, you can skip the step of mixing gas and oil yourself. However, if you’re using regular gasoline, you must mix it with oil before adding it to your chainsaw. Failing to do so can damage your chainsaw and void the warranty.

How Often Should I Mix Chainsaw Gas?

You should mix chainsaw gas every time you need to refuel your chainsaw. If you’re using premixed fuel, you can simply pour it into the gas tank. However, if you’re using regular gasoline, be sure to mix it with oil first.

Can I Use Any Type of Oil to Mix with Gas?

No, you should only use high-quality 2-cycle engine oil. Be sure to check the owner’s manual for your chainsaw to find out what type of oil is recommended.

What Happens if I Don’t Mix the Gas and Oil Correctly?

If you don’t mix the gas and oil correctly, it can damage your chainsaw. Always be sure to follow the correct ratio, and don’t store mixed gas for more than 30 days.

What is the Best Way to Store Mixed Gas?

The best way to store mixed gas is in a clean, airtight container. Glass or metal containers are ideal. Never store mixed gas in your chainsaw’s gas tank.

Now that you know how to mix chainsaw gas, you’re ready to get out there and get the job done! Be sure to follow all safety precautions, and always have a full tank of gas on hand. Stay safe and productive this summer!

Conclusion

Chainsaw gas can be a little intimidating to mix, but with a few simple tips, you’ll be ready to go in no time. We’ve answered some of the most commonly asked questions about chainsaw gas below so that you can feel confident in your ability to mix it correctly.

Remember to always read and follow the manufacturer’s instructions for your specific chainsaw before starting any project. Have you mixed chainsaw gas before? What tips would you add?

>>> How To Port A Chainsaw?

What Size Tripod for Laser Level

What Size Tripod for Laser Level?

What is the best tripod for a laser level? This question can be difficult to answer because there are so many different tripods on the market. In this blog post, we will help you choose the right tripod for your needs.

>>> What Are Laser Levels Used for?

We will cover the different types of tripods and what features to look for when purchasing one. So, whether you are a DIYer or a professional contractor, read on to find out which tripod is right for you!

What Size Tripod for Laser Level?

The size of the tripod you need for your laser level depends on a few factors, such as the weight and height of the laser level itself, as well as the type of project you’ll be using it for.

Dependence

The size of a tripod for laser level depends on various things.

1 size

2 weight

3 heights of the laser level

4 types of projects.

Size of projects

The size of the projects decides the size of the tripod you need. For smaller projects, a compact tripod may be sufficient. These tripods are typically lighter in weight and can be adjusted to a shorter height, making them easier to transport and set up.

For larger projects, or for those that require more precision, a heavy-duty tripod may be necessary. These tripods are usually made of metal and are designed to support heavier weights. They also have a longer extension, making them ideal for projects that require a higher placement of the laser level.

Weight

The weight of the laser level itself will also play a role in determining the size of the tripod you need. Taller tripods are typically better suited for heavier laser levels, while lighter tripods may be sufficient for smaller, lightweight models.

Keep in mind that the weight of the tripod itself will also need to be considered. Heavier tripods are more stable but can be difficult to transport and set up. Lighter tripods may be easier to carry and maneuver, but may not be as sturdy.

>>>> How to Use Laser Level for Grading

Height

The height of the laser level is another important factor to consider. If the laser level is too tall for the tripod, it may become unstable and topple over. Conversely, if the laser level is too short for the tripod, you may not be able to get a clear view of the project area.

Type of project

The type of project you’ll be using the laser level for will also impact the size of the tripod you need. For example, if you’ll be working on a construction site, a heavy-duty tripod may be necessary to withstand the rugged conditions.

On the other hand, if you’re using the laser level for a more delicate project, such as setting up a home theater system, a lighter tripod may be sufficient.

Keep these factors in mind when choosing a tripod for your laser level to ensure you get the right size for your needs.

Important considerations

Keep in mind that the size of the tripod is just one factor to consider when choosing a laser level. Other important factors include the accuracy of the laser level, the range of the laser level, and the type of project you’ll be using it for.

By taking all of these factors into account, you can be sure to choose the best laser level for your needs.

FAQs

Do I need a tripod for the laser level?

No, a tripod is not strictly necessary for a laser level. However, tripods can be very helpful in ensuring accuracy and stability, especially for larger projects.

How do you attach a laser level to a tripod?

There are a few different ways that you can attach a laser level to a tripod. The most common way is to use the tripod’s screw mount. Most laser levels have a screw mount on the bottom of the unit. You simply unscrew the tripod’s screw, insert the laser level’s screw into the tripod’s screw mount, and then screw the tripod’s screw back into place.

Another way to attach a laser level to a tripod is to use the tripod’s clamp mount. Most tripods have a clamp mount on the top of the unit. You simply loosen the tripod’s clamp, insert the laser level’s clamp into the tripod’s clamp mount, and then tighten the tripod’s clamp back into place.

Finally, some laser levels have a tripod mount built into the unit. You simply attach the tripod’s mounting plate to the bottom of the laser level and then attach the laser level to the tripod.

What thread is on laser level?

The most common thread size on laser levels is 1/4-20. This means that the laser level’s screw has a diameter of 1/4 inch and 20 threads per inch. Most tripod screw mounts are 1/4-20, so you should have no problem attaching your laser level to a tripod.

How do you mount a laser level?

There are a few different ways that you can mount a laser level. The most common way is to use the tripod’s screw mount. Most laser levels have a screw mount on the bottom of the unit. You simply unscrew the tripod’s screw, insert the laser level’s screw into the tripod’s screw mount, and then screw the tripod’s screw back into place.

Conclusion

When it comes to tripods, there are a lot of things to consider. But, hopefully, with the information in this post, you now have a better idea about what to look for when purchasing one.

And remember, if you have any other questions or need help finding the right tripod for your needs, don’t hesitate to reach out! We’re always happy to help. Have you decided on the perfect tripod yet?

>>>> How to Use Laser Level for Tile?

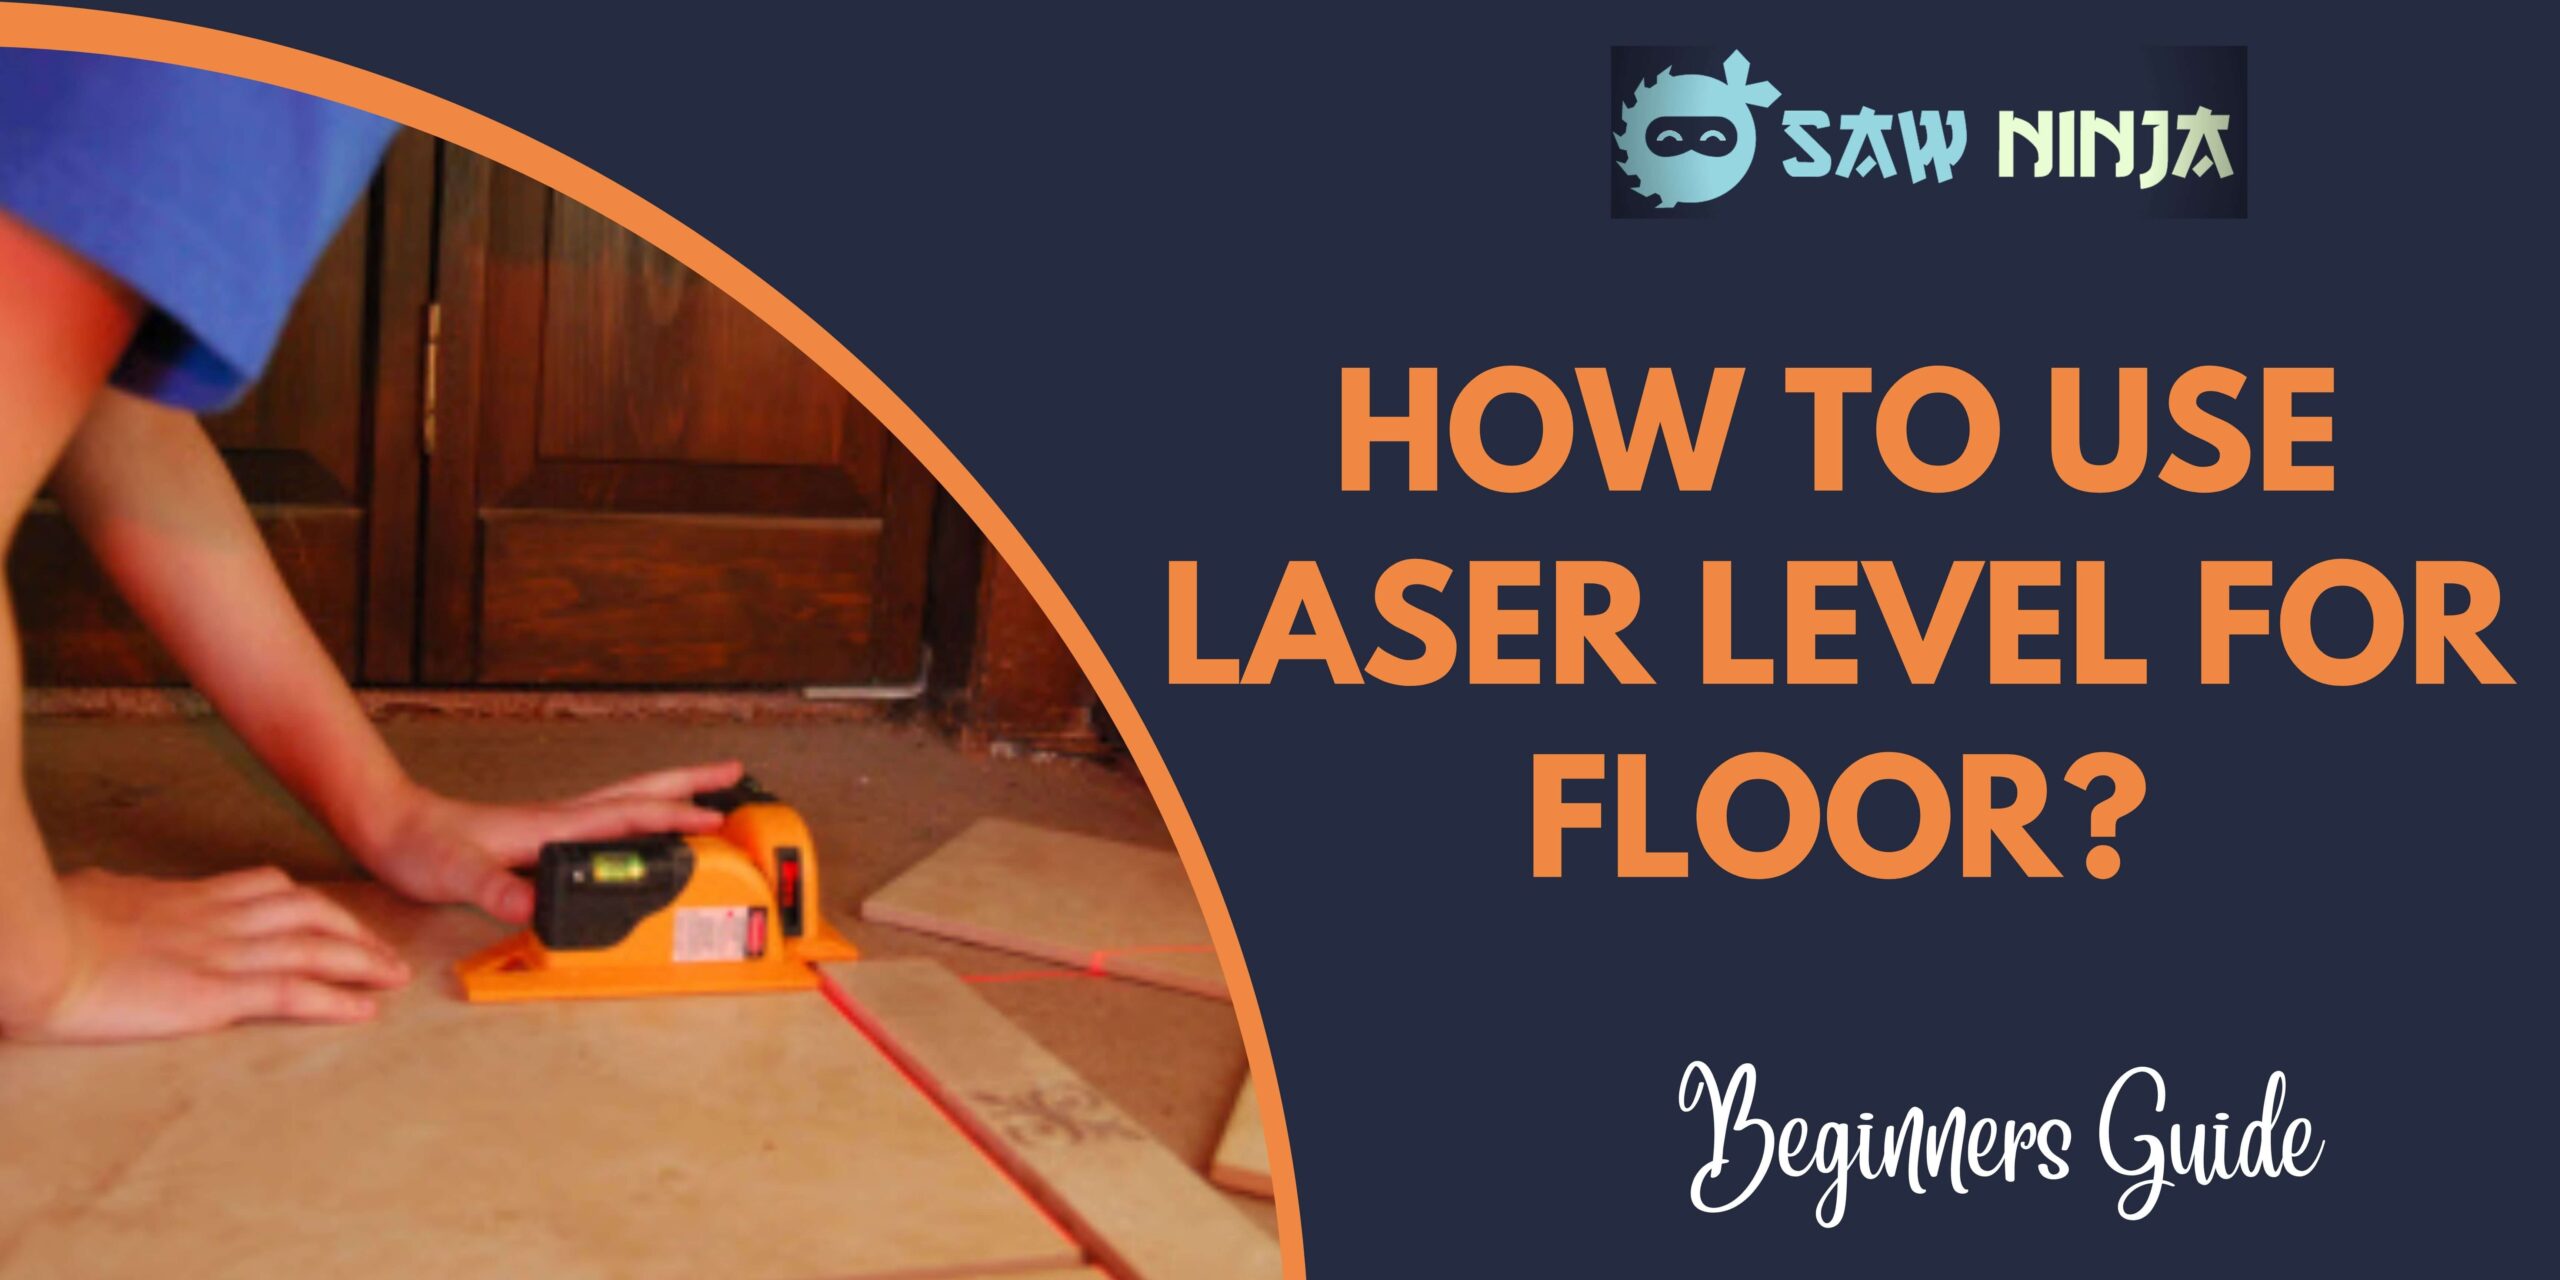
How to Use Laser Level for Floor?

How to Use Laser Level for Floor?

A laser level is an essential tool for every contractor, DIY enthusiast, or homeowner. Whether you’re installing new flooring or simply trying to hang a picture frame straight, a laser level can ensure precision and accuracy.

In this blog post, we’ll discuss the basics of how to use a laser level and highlight some of its key features. We’ll also provide a few tips on how to get the most out of your laser level. So, whether you’re a beginner or a seasoned pro, read on for all you need to know about using a laser level!

>>>> How to Use Laser Level for Landscaping?

How to Use Laser Level for Floor?

A floor laser level can be a very helpful tool when it comes to getting your floor level. Whether you are installing new floors or just leveling an existing floor, a laser level can help you get the job done quickly and accurately. Here are some tips on how to use a laser level for flooring:

1. Choose the right laser level

There are many different types of laser levels available on the market, so it is important to choose one that is specifically designed for floors. Look for a laser level that has a horizontal and vertical beam, as this will make it easier to level the floor.

2. Set up the laser level

Before you start using the laser level, you need to set it up properly. First, find a level spot on the floor where you can place the laser level. Then, adjust the laser level so that the beam is pointing straight ahead.

3. Use the laser level

Once the laser level is set up, you can start using it to level the floor. To do this, simply move the laser level back and forth across the floor, making sure to keep the beam parallel to the ground. Once you have gone over the entire floor, you should have a perfectly level surface.

4. Check the level

After you have used the laser level to level the floor, it is important to check the level again. This can be done by using a spirit level or by measuring the distance between the floor and the ceiling. If the floor is not perfectly level, you can make adjustments by moving the laser level up or down.

5. Repeat the process

If necessary, you can repeat the leveling process until the floor is completely level. Once the floor is level, you can then proceed with installing new floors or completing any other renovations.

Using a laser level for flooring is a quick and easy way to get perfectly level results. Follow these tips and you will be able to achieve professional-looking results in no time.

>>>> How to Use Laser Level for Deck?

Precautions

When using a laser level for your flooring project, there are certain precautions that you need to take. First, make sure that the area where you will be working is well-ventilated. This is because the fumes from the laser can be harmful to your health.

Second, always wear protective goggles when working with a laser level. This will protect your eyes from the harmful rays of the laser.

Third, be careful not to point the laser directly at anyone. The beams from the laser can be very harmful if they come into contact with someone’s eyes.

Fourth, make sure that you follow the manufacturer’s instructions carefully when using a laser level. If you are not sure about something, ask a professional for help.

Fifth, always clean up the area after you have finished using the laser level. This will ensure that the area is safe for other people to use.

Now that you know the basics of how to use a laser level for your flooring project, you are ready to get started. Just remember to take the necessary precautions and to follow the manufacturer’s instructions carefully. With a little bit of care, you can create beautiful floors using a laser level.

FAQs

How do you laser a floor?

There are a few different ways that you can use a laser level to create a perfectly level floor. One method is to place the laser level on the floor and adjust the tripod until the laser beam is level. Then, using a chalk line, mark out the area that you want to level. Once you have your lines marked, simply fill in the area with self-leveling concrete or another leveling agent.

How do you use a laser level for hardwood floors?

If you’re installing hardwood floors, you’ll want to use a laser level to ensure that your floors are level. To do this, simply place the laser level on the floor and adjust the tripod until the laser beam is level. Then, using a chalk line, mark out the area that you want to level. Once you have your lines marked, simply install your hardwood floors according to the manufacturer’s instructions.

How do you use a laser to check floor flatness?

There are a few different ways that you can use a laser to check the flatness of a floor. One method is to place the laser level on the floor and adjust the tripod until the laser beam is level. Then, using a chalk line, mark out the area that you want to check. Once you have your lines marked, simply measure the distance between the lines with a tape measure. If the distance is not uniform, then your floor is not flat.

How do you find high and low spots on the floor?

There are a few different ways that you can find high and low spots on a floor. One method is to place the laser level on the floor and adjust the tripod until the laser beam is level. Then, using a chalk line, mark out the area that you want to check. Once you have your lines marked, simply measure the distance between the lines with a tape measure.

Conclusion

Hope this article helped you understand how to use a laser level for your flooring project. If you have any questions, be sure to ask a professional for help. With the right tools and a little bit of knowledge, you can get the perfect laser level for your needs. Thanks for reading!

>>>>>Best Laser Level for Cabinets

Do Laser Levels Work Outside

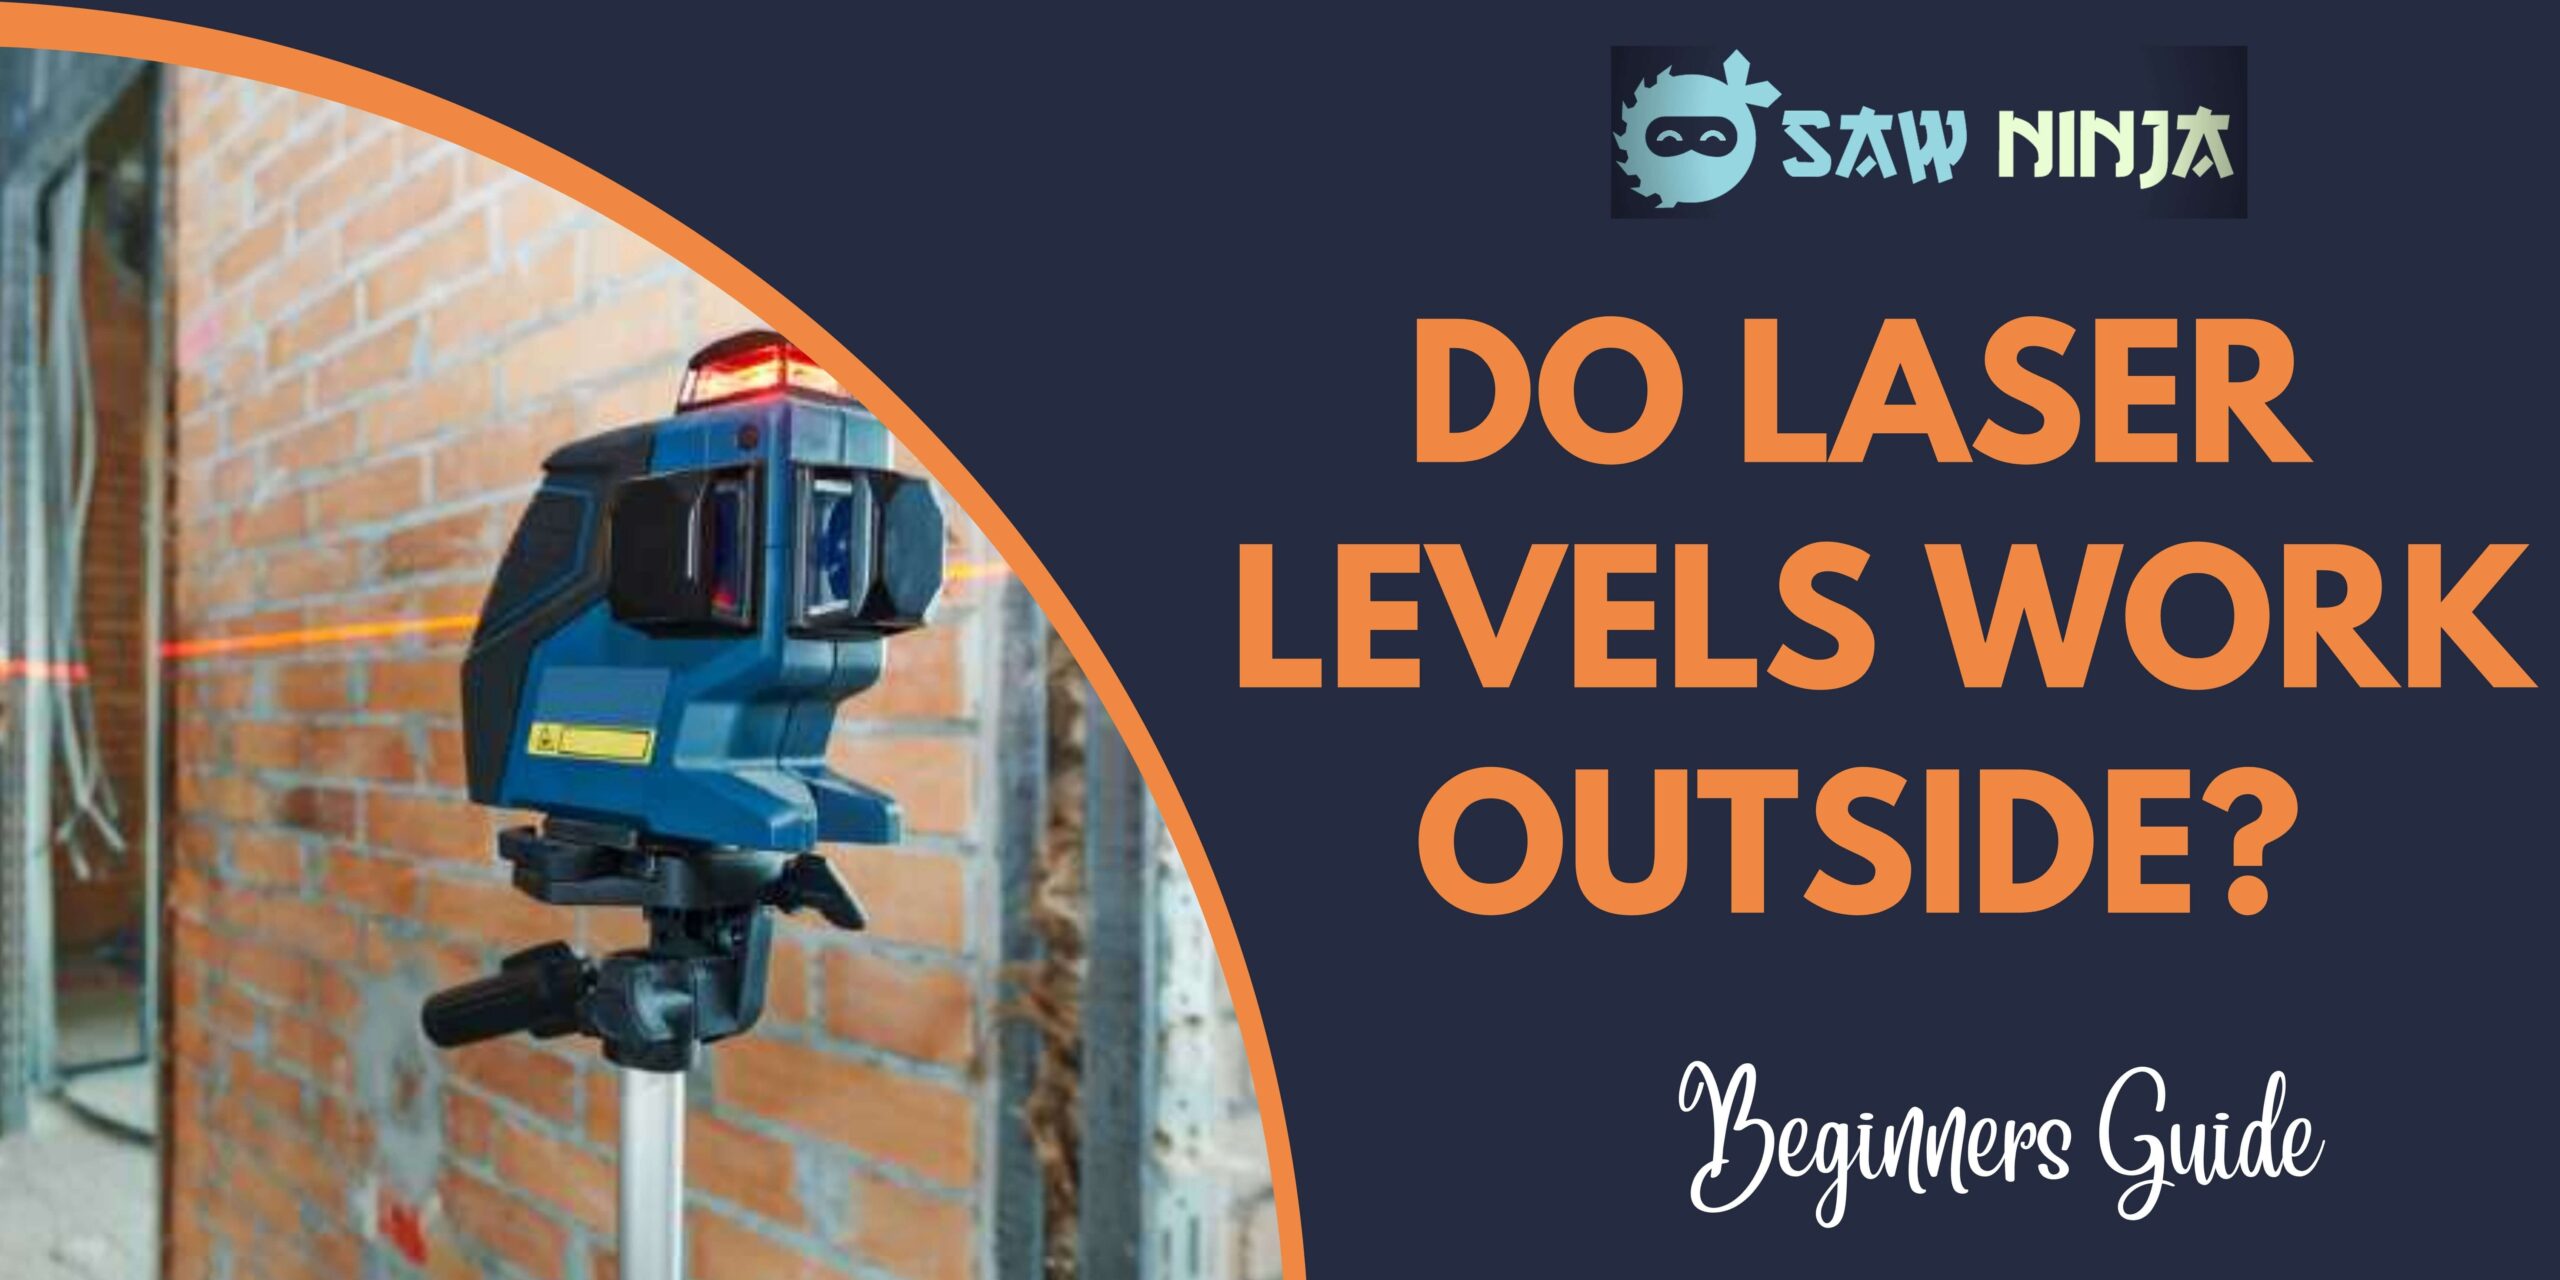
Do Laser Levels Work Outside?

A laser level is a great tool to have around the house, but do they work outside? The answer is yes, but there are some things you need to know before using one.

In this blog post, we’ll go over the basics of how laser levels work and what you need to consider before taking one outside. We’ll also share some tips for getting the most out of your laser level when working outdoors. Stay tuned!

>>>> How to Use Laser Level for Landscaping?

Do Laser Levels Work Outside?

As you probably know, laser levels are great tools for creating level lines indoors. But what about the outdoors? Can laser levels be used to create level lines outside?

The answer is yes! Laser levels can be used to create level lines outside, but there are a few things you need to keep in mind. First, you need to make sure that the laser level you’re using is designed for outdoor use. Second, you need to take into account the effects of sunlight on the laser beam.

Sunlight can cause the laser beam to disperse, making it difficult to create a level line. However, there are some things you can do to mitigate this effect. For example, you can use a reflective target to help reflect the laser beam to the level.

>>>> How to Use Laser Level for Deck?

You should also be aware that wind can affect the accuracy of the laser beam. If the wind is strong enough, it can blow the laser beam off course. However, as long as you take into account the effects of both sunlight and wind, you should be able to create level lines outside with your laser level.

How do you use a laser level outdoors?

The first step is to find a level spot to set up your laser level. You will need to make sure that the area around the laser level is clear of any obstructions. Once you have found a level spot, you will need to set up your tripod and attach the laser level to it.

Next, you will need to find a target for the laser level to project onto. This could be a wall, a piece of cardboard, or anything else that is a flat surface. Once you have found your target, you will need to adjust the laser level until the beam is projected onto the target.

Finally, you will need to turn on the laser level and make sure that the beam is visible. Once the beam is visible, you will need to move the laser level until the beam is projected onto the target. If everything is aligned correctly, the beam should stay in place on the target.

If you are having trouble getting the laser level to work properly, there are a few things that you can do. First, make sure that the batteries are fresh and that the laser level is turned on. Next, check to see if the beam is visible on the target. If it is not, you may need to adjust the focus of the laser level. Finally, if are still having trouble, you can try moving the laser level closer to or further away from the target.

Precautions

While using a laser level outdoors, there are a few precautions that you should take. First, always make sure that the area around the laser level is clear of any obstructions. Second, never look directly into the beam of the laser level. Third, be aware of your surroundings and make sure that you are not pointing the laser level at any reflective surfaces. Finally, always turn off the laser level when you are finished using it.

FAQs

Can you see a laser level in daylight?

Yes, you can see a laser level in daylight, but the beam may be harder to see than it would be in low light conditions.

Do green laser levels work outside?

As with any laser level, the answer to this question depends on several factors, including the type of level you are using and the conditions you are using it in. In general, however, green laser levels are more likely to work outside than other types of laser levels because they are less affected by atmospheric conditions.

If you are using a green laser level for outdoor applications, it is important to make sure that the level is designed for outdoor use. Some laser levels are designed specifically for indoor use and may not be able to withstand the elements. Additionally, you will want to make sure that you are using the level in an area with good visibility and that you are taking steps to protect the level from weather conditions, such as wind and rain.

How can I see a laser in the sun?

There are a few things you can do to improve your visibility when using a laser level in sunny conditions. First, make sure that you are using a level that is designed for outdoor use. Second, try to position the level so that the sun is not directly in your line of sight. Finally, you can use a piece of cardboard or other material to shade the level and improve your visibility.

What is the best outdoor laser level?

The best outdoor laser level is the one that best meets your specific needs. There are a variety of factors to consider when choosing a laser level, including the type of level you need, the conditions you will be using it in, and your budget.

If you need a laser level for general outdoor applications, a green laser level is a good option. Green laser levels are less affected by atmospheric conditions and are more visible in sunny conditions. If you are looking for a laser level for more specific applications, such as leveling a construction site or surveying land, there are many other options to choose from.

Conclusion

Laser levels have many uses and can be a valuable tool for your next project. Whether you are a contractor, DIY-er, or just need to hang a picture frame, laser levels can make the job easier. We hope this article has answered some of your questions about laser levels and their use. If not, please feel free to reach out to us through our website or social media pages. And as always, happy leveling!

>>>> Green Vs Red Laser Level

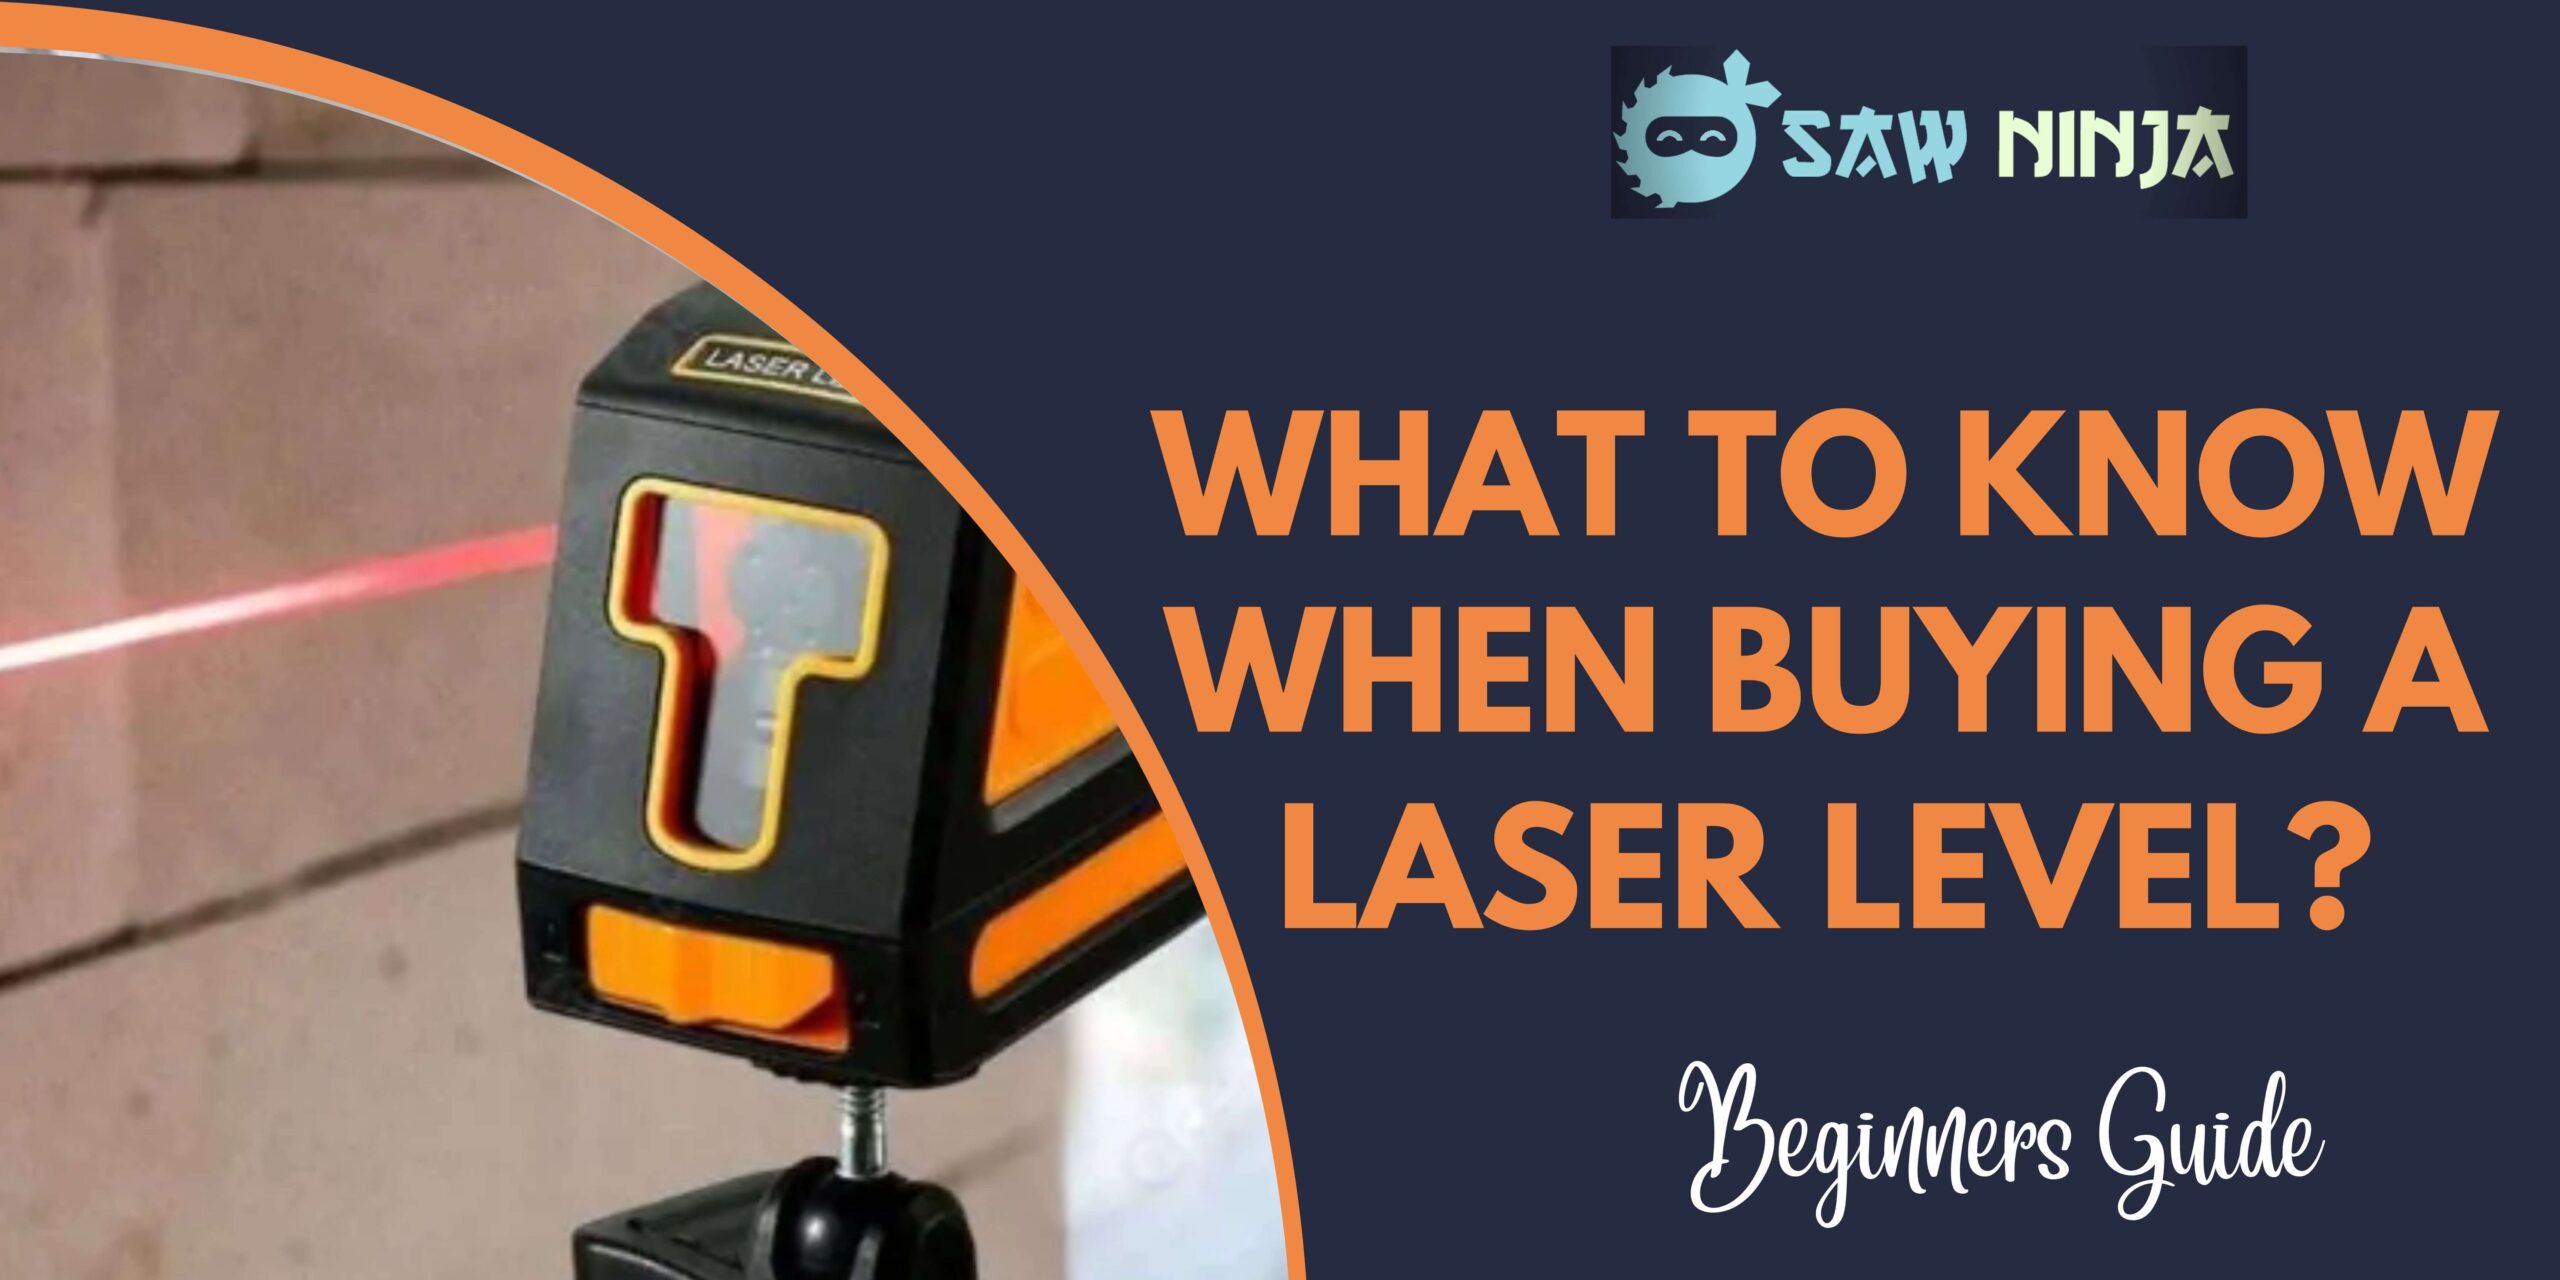
What to Know When Buying a Laser Level?

What to Know When Buying a Laser Level?

A laser level can be a great investment for your home or office. These tools make it easy to get accurate measurements and help you avoid mistakes while you’re working on a project. However, not all laser levels are created equal. There are a few things you’ll want to keep in mind when shopping for one of these devices. Here are some tips to help you choose the right laser level for your needs.

>>>> How to Use Laser Level for Tile?

What to Know When Buying a Laser Level?

When it comes to home improvement projects, many people choose to use a laser level to help ensure that everything is installed correctly and level. But, with so many different types and brands of laser levels on the market, it can be difficult to know which one is right for your needs. Here are a few things to consider when purchasing a laser level:

Type:

There are two main types of laser levels- rotary and linear. Rotary laser levels are best suited for large projects, such as leveling a foundation or framing a house. Linear laser levels are more precise and better suited for smaller projects, such as installing cabinets or shelves.

Brand:

There are many different brands of laser levels available on the market. Some of the more popular brands include Bosch, Dewalt, and Stanley. It is important to do your research to find a brand that offers a good warranty and has a reputation for quality.

>>>> Do Laser Levels Work Outside?

Features:

When choosing a laser level, it is important to consider the features that you need. Some laser levels come with features such as a self-leveling function, which can be very helpful. Other features to look for include a tripod mount, laser receiver, and level indicator.

Price:

Laser levels can range in price from around $50 to over $200. It is important to find a laser level that fits your budget, but also offers the features and quality that you need.

Durability:

When choosing a laser level, it is important to consider how durable it is. Laser levels can be dropped or bumped, so it is important to find one that is made from high-quality materials.

These are just a few of the things to keep in mind when shopping for a laser level. By taking the time to do your research, you can be sure to find the perfect laser level for your needs.

Advantages of choosing the good laser level for your needs

There are many advantages to choosing the right laser level for your needs. Some of the advantages include:

  1. Increased accuracy – A laser level can help you achieve greater accuracy when leveling or measuring than using a traditional level.
  2. Versatility – A laser level can be used for a variety of tasks beyond leveling, such as measuring distances and angles, and even projects such as hanging pictures or installing shelves.
  3. Speed – A laser level can help you complete leveling and measuring tasks much faster than using a traditional level.
  4. Convenience – A laser level can be transported and stored easily, and does not require extensive setup like some traditional levels.
  5. Affordability – Laser levels are generally more affordable than traditional levels, making them a great option for budget-minded shoppers.

FAQs

What should I look for at a laser level?

When choosing a laser level, it is important to keep in mind the type of project you will be using it for, the brand, features, price, and durability.

Is red or green better for a laser level?

There is no definitive answer, as each color has its advantages. Red lasers are typically more visible in low-light conditions, while green lasers are easier to see in bright sunlight.

What are the differences in laser levels?

There are two main types of laser levels- rotary and linear. Rotary laser levels are best suited for large projects, such as leveling a foundation or framing a house. Linear laser levels are more precise and better suited for smaller projects, such as installing cabinets or shelves.

What is the best laser level for DIY?

There is no definitive answer, as the best laser level for DIY will depend on the specific project you are working on.

Conclusion

Laser levels are a great tool to have in your arsenal for any number of projects. When purchasing a laser level, there are a few key factors you’ll want to keep in mind to ensure you get the best product for your needs.

Here are four things to consider before buying a laser level. Have you purchased a laser level recently? What factors did you take into account when making your purchase?

>>>> How to Use Laser Level for Grading

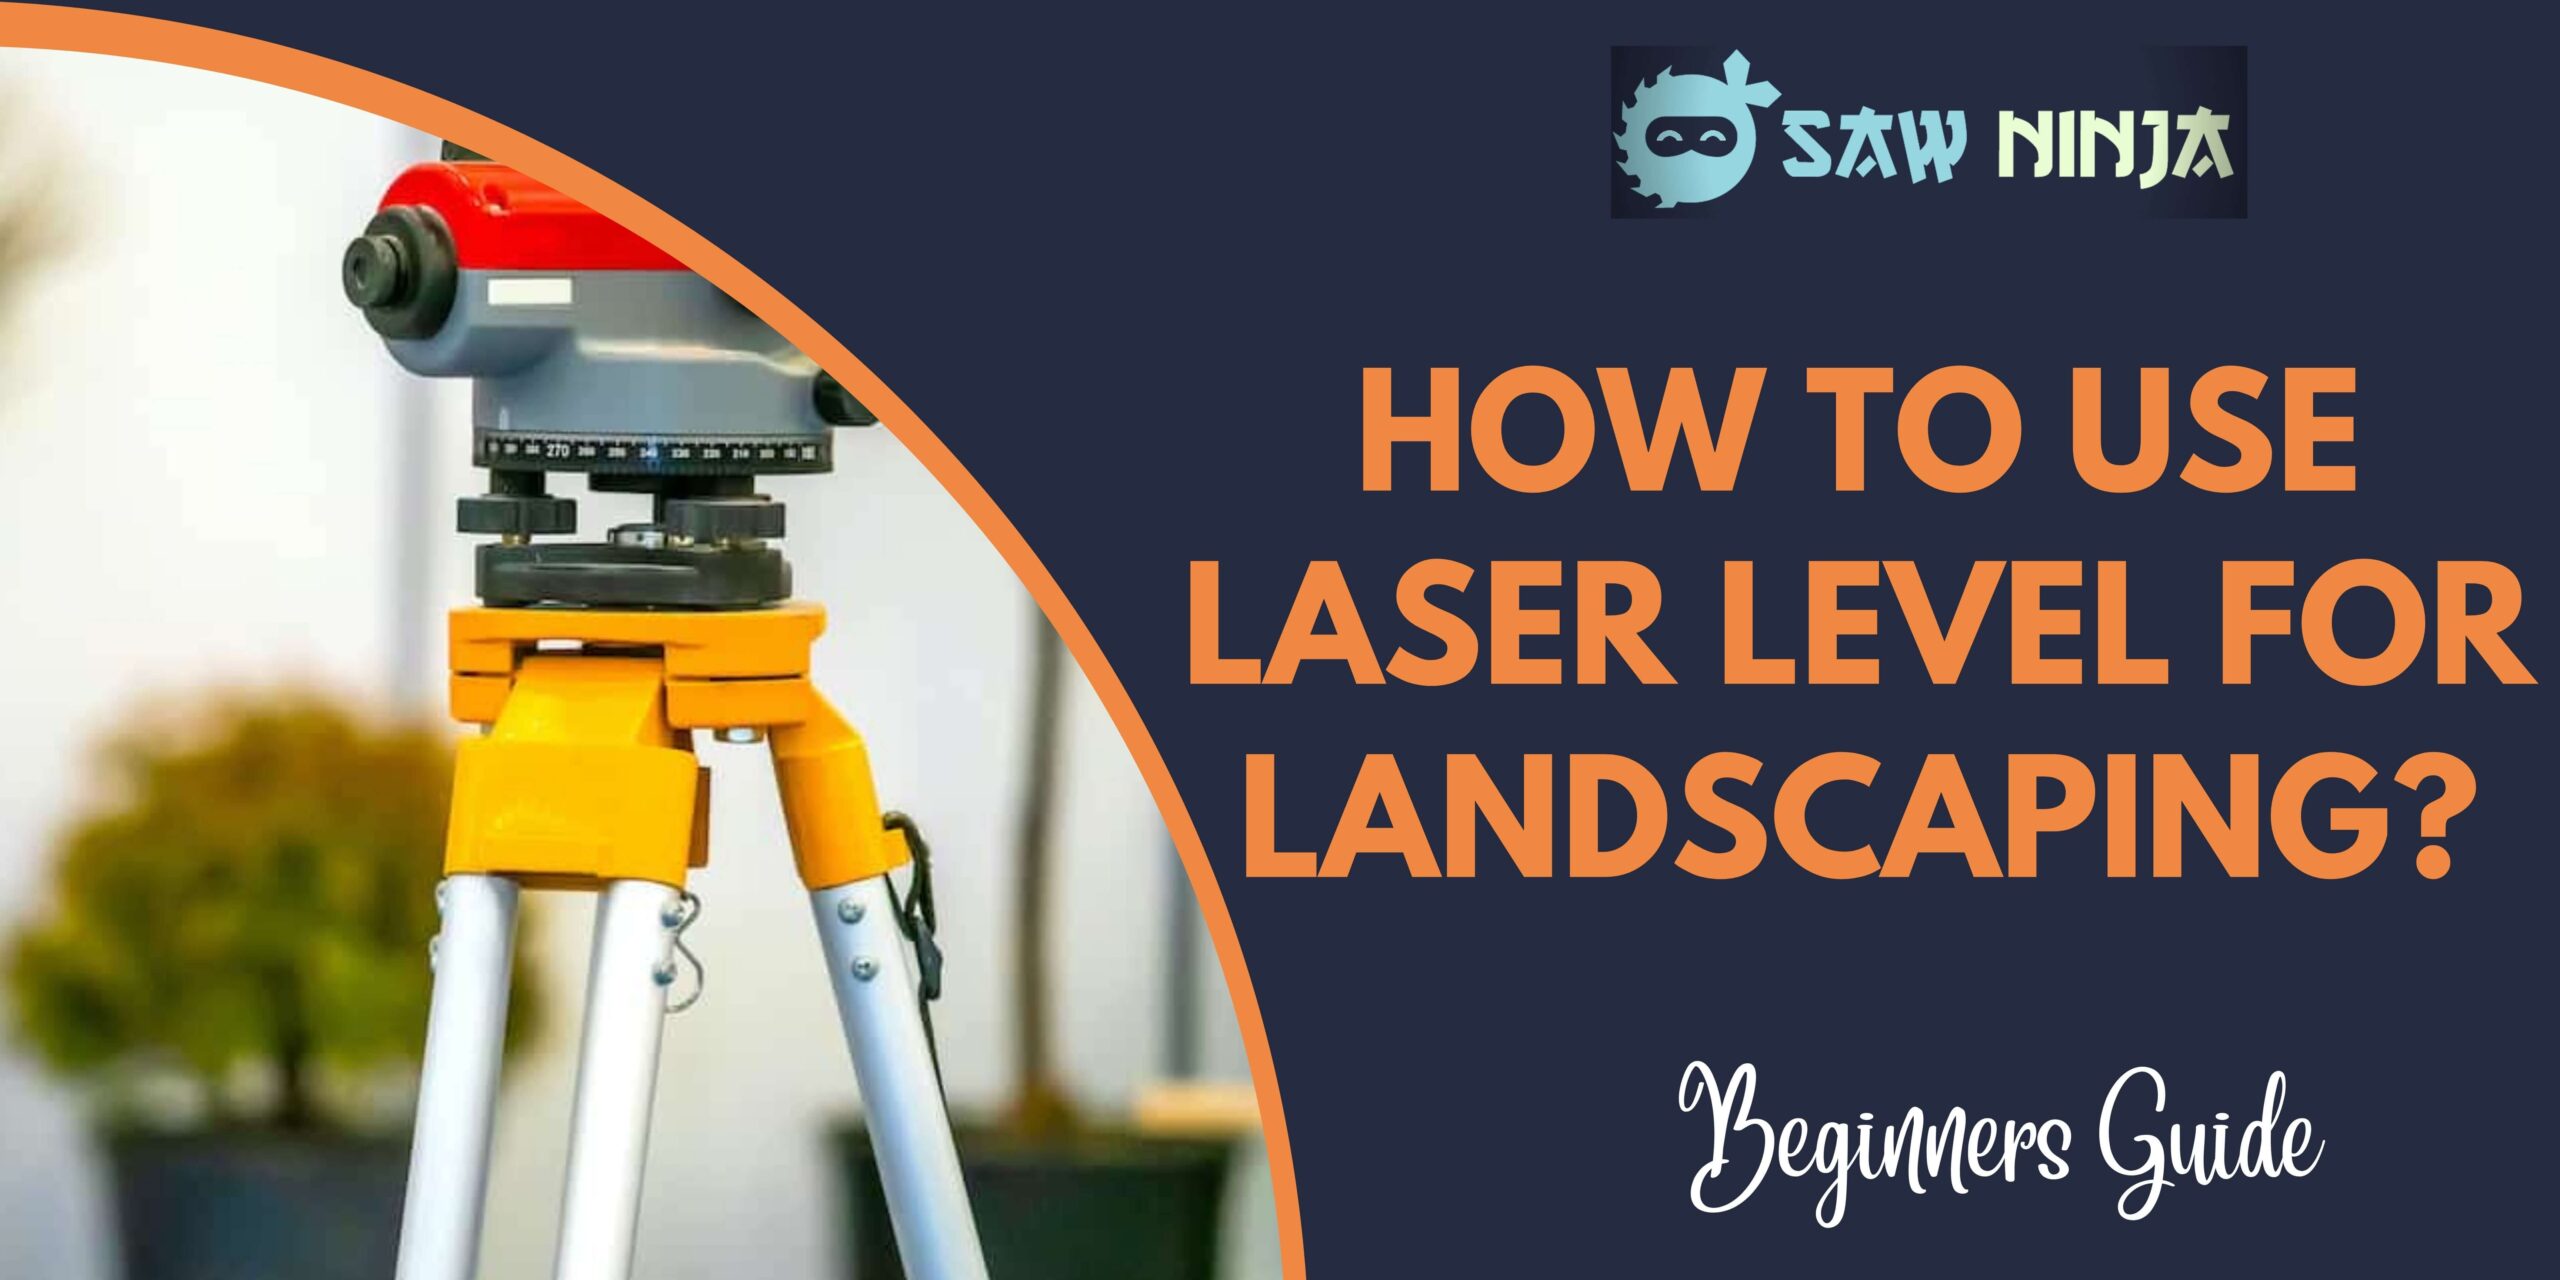
How to Use Laser Level for Landscaping

How to Use Laser Level for Landscaping?

Do you need to get a level surface for your next landscaping project? Perhaps you’ve heard of laser levels, but aren’t sure how they work or what they’re used for. In this blog post, we’ll explain everything you need to know about laser levels and show you how to use them for your landscaping projects. Keep reading to learn more!

>>>> How to Use Laser Level for Deck?

How to Use Laser Level for Landscaping?

If you are looking for a fast and easy way to level your landscaping, a laser level is the best tool for the job. This guide will show you how to use a laser level for landscaping in the most efficient way.

But before we get started, let’s first understand what laser level is and how it works.

A laser level is a tool that emits a beam of light that is used to create a level surface. The beam of light is projected onto the ground and is used as a guide to creating a level surface.

Laser levels are available in different sizes and shapes. The most common type of laser level is the handheld laser level. Handheld laser levels are portable and can be used for various applications such as leveling a deck or patio or creating a level surface for landscaping.

Another type of laser level is the rotary laser level. Rotary laser levels are mounted on a tripod and emit a rotating beam of light. Rotary laser levels are used for applications such as leveling a foundation or creating a level surface for paving stones.

Now that we know what laser level is, let’s learn how to use it for landscaping.

>>>> Best Laser Level for Cabinets

Step by Step guide

Step 1: Determine the orientation of the laser level.

The first step is to determine the orientation of the laser level. The most common orientation is horizontal, but there are also vertical and diagonal orientations.

Step 2: Set up the laser level.

The next step is to set up the laser level. Most laser levels come with a tripod, so be sure to set up the tripod according to the manufacturer’s instructions.

Step 3: Position the laser level.

Once the tripod is set up, position the laser level so that the beam of light is projected onto the ground where you want to create a level surface.

Step 4: Use the laser level.

Now it’s time to use the laser level. Slowly move the laser level back and forth until the beam of light is projected onto the ground evenly. Once the beam of light is projected evenly, you’ll have a level surface.

Laser levels are a great tool for quickly and easily creating a level surface. With a little practice, you’ll be able to use a laser level like a pro!

Precautions

Here are a few things to keep in mind when using a laser level:

Be sure to read the manufacturer’s instructions carefully before use.

Never look directly into the beam of light. The light from the laser level can be harmful to your eyes.

Never point the beam of light at another person.

Keep the laser level away from children and pets.

Follow these simple tips and you’ll be able to use a laser level like a pro!

FAQs

Can you use a laser level to level the ground?

Yes, you can use a laser level to level the ground. The beam of light from the laser level can be used as a guide to creating a level surface.

What is the best laser level for landscaping?

There are a few different types of laser levels that can be used for landscaping. The most popular and most accurate type is the rotary laser level. Rotary laser levels emit a horizontal or vertical line of light that can be easily seen against any background.

What should you not do with a laser level?

There are a few things to avoid when using a laser level for landscaping. First, don’t look directly into the laser beam as it can damage your eyes. Second, make sure that the area you’re working in is level and free of obstructions so the laser beam can travel freely. Finally, be careful not to accidentally point the laser level at anyone as the beam can cause temporary blindness.

How do you use a laser level for slope?

Using a laser level for slope is relatively simple. First, find the starting point of your slope and set up the laser level so the beam is pointing directly at this point. Next, move the laser level up or down the slope until the beam is at the desired height. Finally, mark this point and use it as a reference point when creating your slope.

Creating a perfect landscape isn’t easy, but with the help of a laser level, it can be a whole lot easier. By following these simple tips, you can make sure that your landscaping project turns out exactly the way you want it to.

Conclusion

Laser levels are a great tool to have when landscaping your yard. This article provides a step-by-step guide on how to use a laser level for landscaping, as well as some FAQs about the process. We hope you found this information helpful and that it will make the landscape process go a little smoother for you. If you have any questions or need help using a laser level, don’t hesitate to reach out to us. Thanks for reading!

>>>> How to Use Laser Level for Tile?

Types of Laser Level

Types of Laser Level

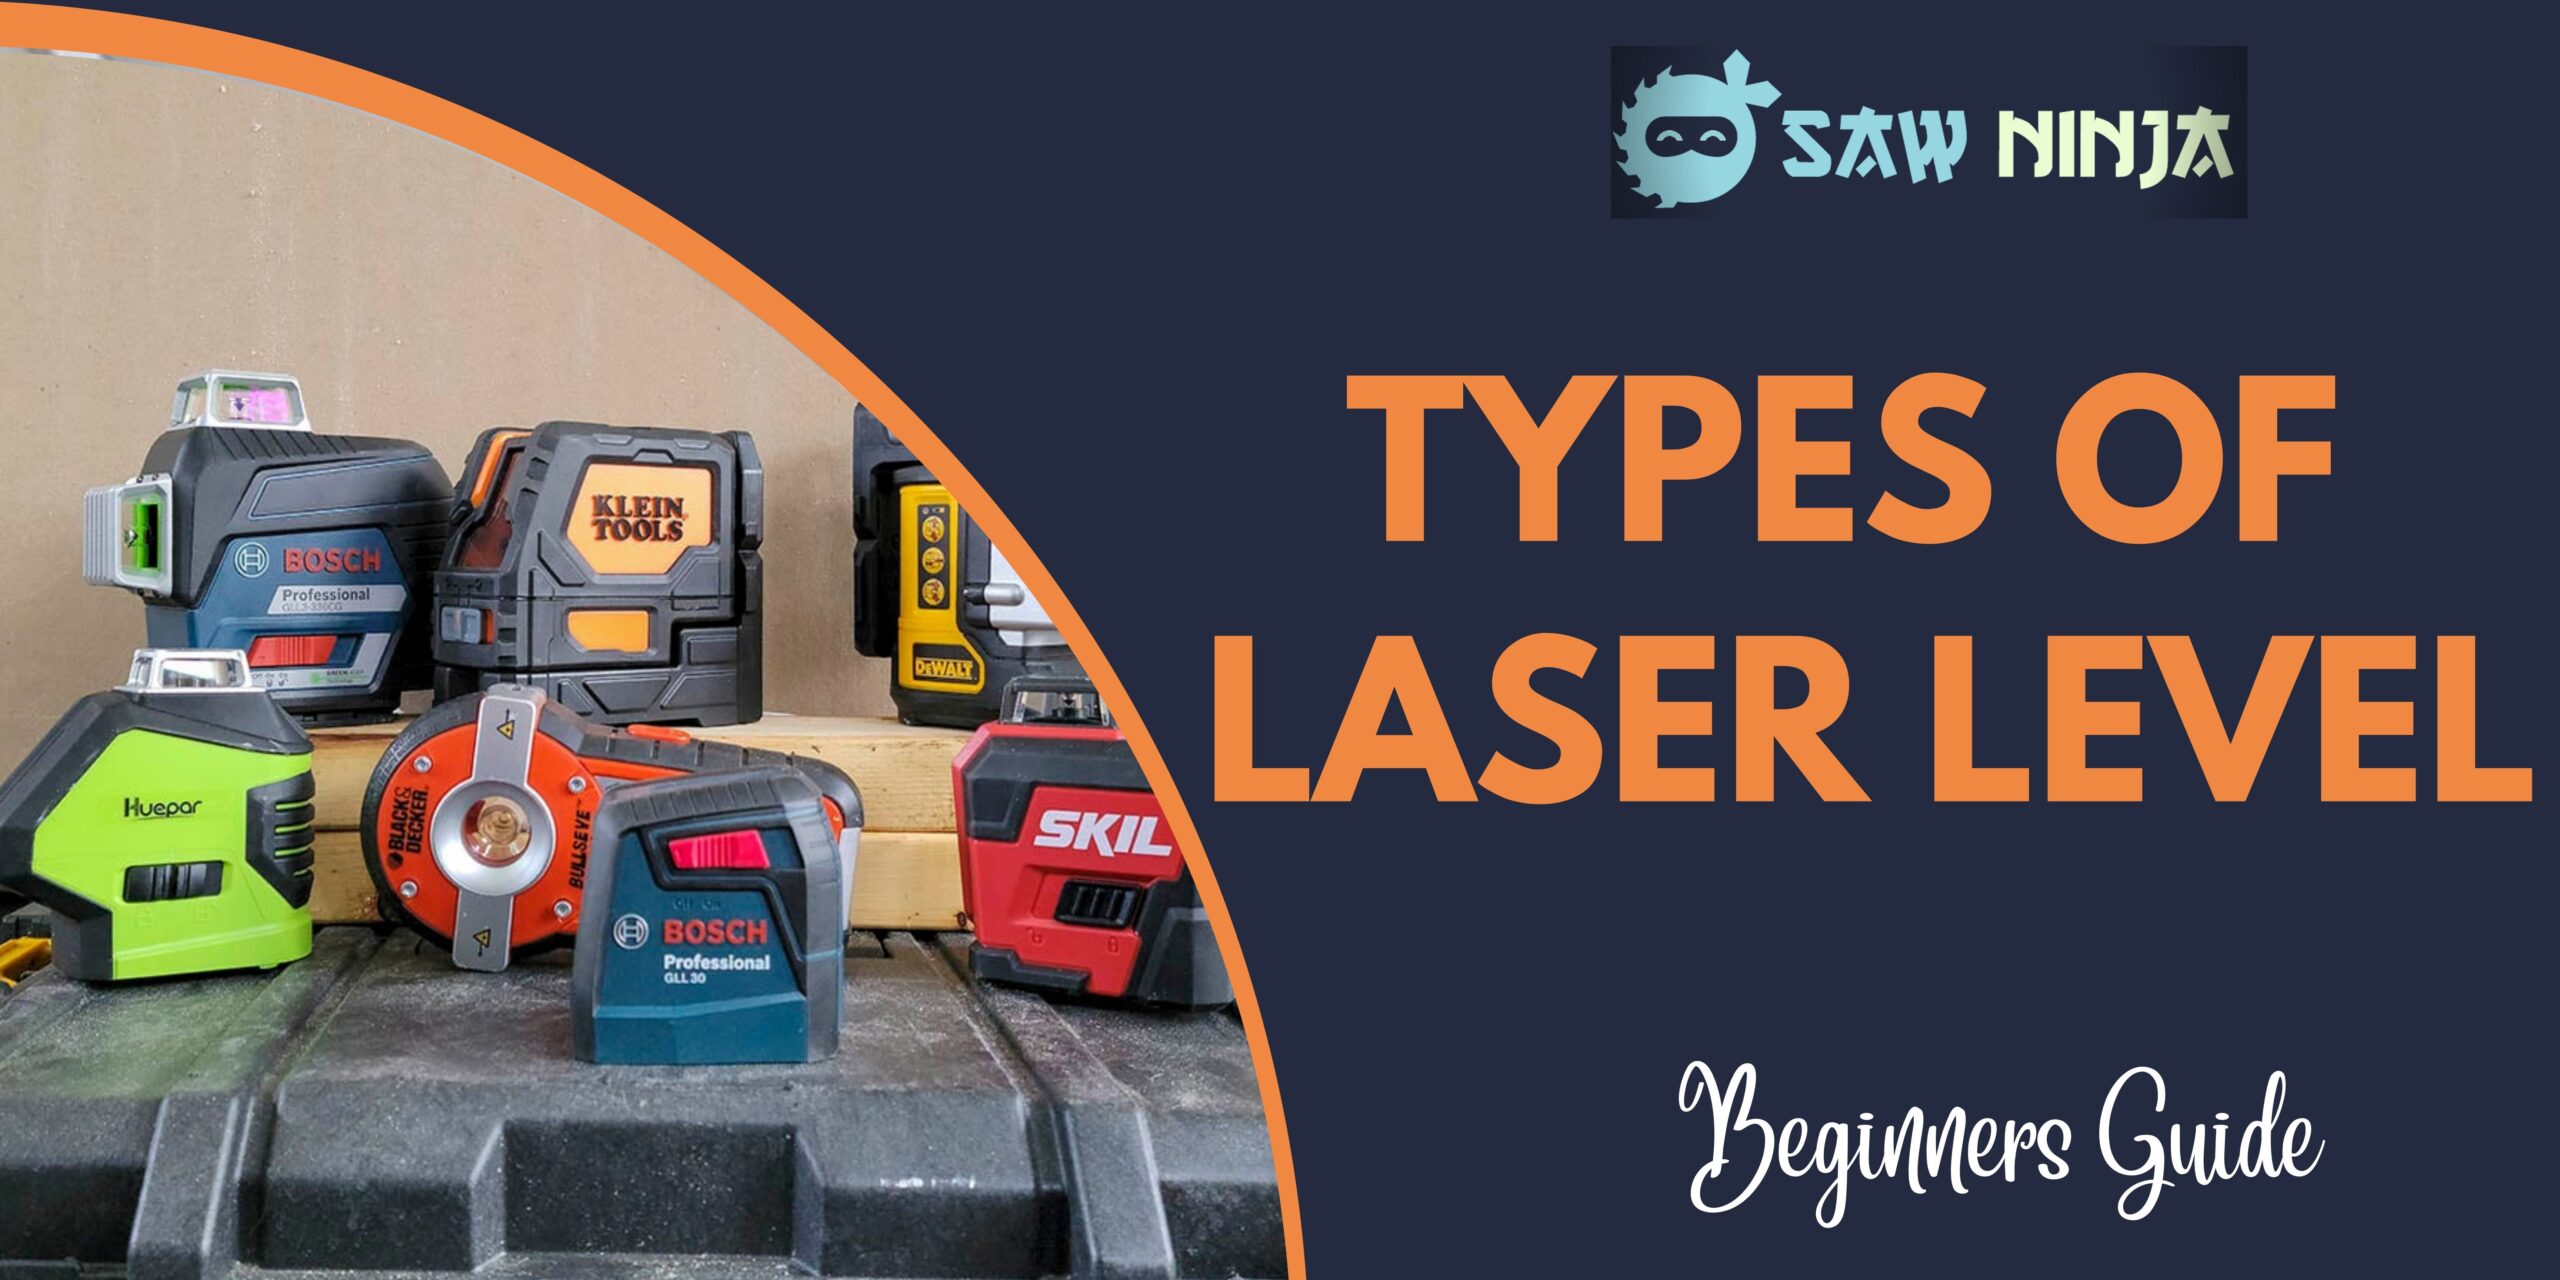
There are many different types of laser levels on the market today. But what is a laser level and what are its uses? A laser level is a device that emits a single plane of light using a laser diode. This light can be projected onto surfaces to create perfectly straight lines or used as a guide to Level objects.

>>>> Do Laser Levels Measure Distance?

There are many different types of laser levels, from simple handheld models to sophisticated tools that can be mounted on construction equipment. Here we will explore the different types of laser levels and their applications.

Let’s Get Started!

Types of Laser Level

Depending on the job or project you are undertaking, you might need a different type of laser level. Here is a quick guide to the three main types to help you choose the right one.

  1. Dot laser levels
  2. Line laser levels
  3. Rotary laser levels

Dot laser levels

Dot laser levels are the simplest and most affordable type of laser level. The project is a single dot of light, which can be used as a reference point for hanging pictures or shelves, or for aligning other objects.

Pros

  1. Inexpensive
  2. Simple to use
  3. Compact and portable
  4. Can be used in a variety of ways
  5. Versatile

Cons

  1. Only projects a single dot of light
  2. Not as accurate as other types of laser level
  3. Limited uses

Line laser levels

Line laser levels project a horizontal or vertical line of light, which can be used as a reference point for tiling, painting, or other jobs that require a straight line. Some line laser levels can also project both horizontal and vertical lines at the same time.

Pros

  1. More accurate than dot laser levels
  2. Can project both horizontal and vertical lines
  3. Can be used for a variety of jobs
  4. Easy to use
  5. Affordable

Cons

  1. Not as versatile as rotary laser levels
  2. Limited uses
  3. Can be difficult to see in bright light

Rotary laser levels

Rotary laser levels are the most expensive and sophisticated type of laser level. They project a horizontal or vertical line of light that rotates 360 degrees, creating a continuous reference point for larger jobs such as leveling a foundation or aligning a drainage system

>>>> Best Laser Level for Cabinets

Pros

  1. Continuous reference point
  2. Ideal for large leveling jobs
  3. More expensive than other types of laser levels
  4. More accurate than a dot and line laser levels
  5. Can be used for a variety of jobs
  6. 360-degree rotation

Cons

  1. Not as versatile as dot and line laser levels
  2. Can be difficult to see in bright light
  3. Limited uses

FAQs

What type of laser level is best?

The best type of laser level for your needs depends on the job or project you are undertaking. If you need a simple reference point, a dot laser level is a good choice. For jobs that require a straight line, such as tiling or painting, a line laser level is a better choice. And for large jobs that require a continuous reference point, a rotary laser level is the best option.

What are the three most common laser level types?

The three most common types of laser levels are dot, line, and rotary. Each has its advantages and disadvantages, so it’s important to choose the right one for your needs.

What is a 3-point laser level used for?

A 3-point laser level is used to project a horizontal or vertical line of light that rotates 360 degrees. This creates a continuous reference point, making it ideal for large leveling jobs. It is also more expensive than other types of laser levels.

What is a 5-point laser level?

A 5-point laser level is a rotary laser level that projects five beams of light instead of just one. This makes it more accurate than a single-beam rotary laser level and is ideal for large jobs that require a high degree of accuracy. However, it is also more expensive.

What is a 5-point laser good for?

A 5-point laser level is a rotary laser level that projects five beams of light instead of just one. This makes it more accurate than a single-beam rotary laser level and is ideal for large jobs that require a high degree of accuracy. However, it is also more expensive.

Conclusion

Laser levels are a handy tool for anyone working with construction or renovation projects. In this post, we’ve outlined the different types of laser levels and shared a step-by-step guide on how to use them.

We’ve also answered some frequently asked questions about laser levels so that you can be sure to get the most out of your purchase. Have you tried using a laser level in your next project? Let us know how it goes!

>>>> How Accurate Are Laser Levels?

What is Laser Leveling in Agriculture

What is Laser Leveling in Agriculture?

Laser leveling is an agricultural technique that uses a laser to create a level surface. This technique is used to improve irrigation, crop production, and soil health. By creating a level surface, farmers can more efficiently use water and fertilizer and reduce erosion. Laser leveling is becoming increasingly popular due to its benefits for farmers and the environment.

>>> How Does a Laser Level Work?

What is Laser Leveling in Agriculture?

Laser leveling in agriculture is the process of using a laser beam to level the land. This process can be used for a variety of purposes, such as creating evenly spaced rows for crops, preparing seedbeds, and leveling fields for irrigation. Laser leveling can also be used to create drainage ditches, contour lines, and terraces.

The benefits of laser leveling in agriculture are many. Laser leveling can save farmers time and money by reducing the need for manual labor. It can also improve crop yields by creating more evenly spaced rows and improving drainage. In addition, laser leveling can help to reduce soil erosion and runoff, protect against drought, and improve overall soil health.

How to use laser level in agriculture?

A laser level is used in agriculture for leveling the land. It is a process of using lasers to create a level surface. This can be done by hand or with the help of a machine. A laser level can also be used to create slopes and contours in the land.

Step-by-step guide on how to use laser level in agriculture:

  1. First, you need to find a level spot on the ground. This will be your starting point.
  2. Next, you need to set up your laser level. Make sure that the laser is at the same height as your starting point.
  3. Once your laser level is set up, you need to turn it on and aim it at your starting point.
  4. Now, you need to move the laser level forward until the beam hits the ground.
  5. You need to continue moving the laser level forward until the entire area is covered.
  6. Finally, you need to turn off the laser level and check the results.

Laser leveling in agriculture can be used for various purposes such as leveling the land for crops, creating slopes for drainage, and contouring the land for landscaping. It is a quick and easy way to get the job done.

>>>> How to Use Laser Level for Tile?

Precautions

Here are some things to keep in mind when using a laser level:

  1. Always wear safety goggles to protect your eyes from the laser beam.
  2. Be careful not to point the laser beam at anyone.
  3. Make sure that the area you are working in is well-ventilated.
  4. Follow the manufacturer’s instructions carefully.
  5. If you are using a machine, make sure that it is properly calibrated.

Laser leveling is a quick and easy way to get the job done. However, you need to take some precautions to ensure your safety and the accuracy of the results. Follow the tips above and you will be able to use a laser level without any problems.

FAQs

How does a laser leveler work?

A laser leveler works by projecting a laser beam onto the ground. The beam creates a level surface that can be used for various purposes such as leveling the land for crops, creating slopes for drainage, and contouring the land for landscaping.

What are laser-leveled fields?

Laser-leveled fields are fields that have been leveled using a laser level. This can be done for various purposes such as leveling the land for crops, creating slopes for drainage, and contouring the land for landscaping.

What is a laser land Leveller?

A laser land leveler is a machine that uses lasers to create a level surface. This machine can be used in agriculture to create level fields for crops, as well as in construction to level the ground for buildings.

What is laser Leveller where it used?

A laser leveler is a machine that uses lasers to create a level surface. It is commonly used in agriculture to level fields for planting or irrigation. Lasers are also used to level foundations and floors during construction.

Laser leveling offers many benefits over traditional methods of leveling, such as grade stakes and string lines. Laser leveling is faster, more accurate, and easier to set up. It also eliminates the need for constant surveying and stake-out.

What is the main advantage of a laser level?

The main advantage of a laser level is its accuracy. Laser levels can create very precise level surfaces that are perfect for various applications such as construction, agriculture, and landscaping.

How to use a laser Leveller?

Using a laser leveler is quick and easy. First, you need to find a level spot on the ground. This will be your starting point. Next, you need to set up your laser level. Make sure that the laser is at the same height as your starting point.

Once your laser level is set up, you need to turn it on and aim it at your starting point. Now, you need to move the laser level forward until the beam hits the ground. You need to continue moving the laser level forward until the entire area is covered. Finally, you need to turn off the laser level and check the results.

Conclusion

Laser leveling in agriculture is a great way to level your fields for planting. It is a precise and efficient process that can save you time and money. We hope this article has answered any questions you may have about laser leveling, and we encourage you to try it out for yourself. Have you used laser leveling in your agricultural endeavors? Let us know how it went in the comments below!

>>> Do Laser Levels Measure Distance?

What is Circular Saw?

Circular saws are a type of power saw that uses a circular blade to cut through materials. They can be used for many different applications, both in the home and in professional settings. Circular saws come in various sizes, so it is essential to choose one that is the right fit for the job.

There are also many types of circular saw blades available, so it is essential to select the right edge for the cut material. With the right care and maintenance, a circular saw can provide years of reliable service.

What is Circular Saw?

A circular saw is a power tool that can be used to make quick, clean cuts in various materials. It is one of the most versatile tools in a woodworker’s or contractor’s arsenal and can be used for everything from rough cuts to precise finish work.

The circular saw is so named because it uses a circular blade to make its cuts. The blade is mounted on an arbor, which is itself on a motor. The motor can be powered by electricity, gasoline, or compressed air, depending on the model of the saw.

The blade of a circular saw can be made from a variety of materials, including steel, tungsten carbide, or diamond. The type of material used will depend on the intended use of the saw and the hardness of the material being cut. For example, a steel blade will dull quickly when used to cut concrete, but a tungsten carbide blade will last much longer.

Circular saws can be handheld or table-mounted. Handheld models are smaller and lighter, making them more portable and easier to use in tight spaces. Table-mounted models are larger and heavier, but they offer more stability and accuracy.

Most circular saws have a blade guard to protect the operator from the spinning blade. The guard can be lowered for making cuts, or removed entirely for making plunge cuts.

Some models of circular saw also have a dust blower to help clear away sawdust and debris. This is especially helpful when making precision cuts where a clean, dust-free work area is essential.

How to use a circular saw?

When using a circular saw, always make sure that the blade is properly secured and that the saw is unplugged or the power turned off before making any adjustments.

Step by Step Guide

Start by installing the blade onto the arbor. Make sure that the teeth of the blade are pointing in the correct direction.

Next, position the workpiece so that it is flush with the edge of the saw table or fence. If you are using a handheld circular saw, you will need to support the workpiece with your other hand to keep it from tipping.

To start the saw, squeeze the trigger and slowly lower the blade into the workpiece. Allow the blade to come up to full speed before making the cut.

When making a rip cut, guide the saw along the length of the workpiece. Keep the blade perpendicular to the workpiece to ensure a straight cut.

To make a cross-cut, start the cut at the edge of the workpiece and guide the saw across the width of the piece. again, keep the blade perpendicular to ensure a straight cut.

Once the cut is complete, release the trigger and allow the blade to come to a stop before lifting it out of the workpiece.

When using a table-mounted circular saw, it is important to keep the workpiece firmly against the fence to prevent kickback.

Safety Tips

When using a circular saw, always wear safety goggles or a face shield to protect your eyes from flying debris. Be sure to keep your fingers well away from the path of the blade to avoid injury.

Wear hearing protection when using a circular saw to protect your ears from the loud, high-pitched noise of the motor.

Never attempt to free a jammed blade with your hands. Always unplug the saw or turn off the power before attempting to clear a jam.

Never attempt to make a cut without first securing the workpiece. A piece of wood that is not properly secured can easily kick back and cause serious injury.

Never use a circular saw without first reading the owner’s manual. This will ensure that you are using the saw correctly and safely.

FAQs:

What is a circular saw used for?

Ans: A circular saw is a powerful tool that is used for making straight cuts in wood, plastic, or metal.

What are circular saws called?

Ans: Circular saws are also called power saws. They are handheld or table-mounted tools that have a circular blade that spins around an arbor. The blade is used to cut through materials, such as wood, metal, or plastic.

What are the different types of circular saws?

Ans: There are several types of circular saws, including handheld saws, table-mounted saws, chop saws, miter saws, and track saws.

How do circular saws work?

Ans: Circular saws work by spinning a blade around an arbor. The blade is typically made of carbide-tipped steel and is very sharp. As the blade spins, it cuts through the material that you are working with.

What are the benefits of using a circular saw?

Ans:

  • There are many benefits to using a circular saw, including:
  • They are very versatile tools that can be used for a variety of tasks.
  • They are relatively easy to use.
  • They are relatively safe to use, as long as you follow safety precautions.
  • They are relatively affordable.

Conclusion:

So, there you have it! Everything you need to know about circular saws. Whether you’re a DIY novice or a seasoned contractor, we hope this guide has been helpful.

If you still have questions after reading this post, be sure to check out our FAQ section below. And as always, feel free to leave us a comment if you need further assistance. Thanks for reading!